Why Choose WordPress for E-commerce?
WordPress runs 40% of the web because it is simple, powerful, and just works:
- Built to Adapt: You can offer physical items, digital content, or even subscriptions all in one place.
- Affordable: The platform itself is free, and most plugins are budget-friendly.
- Beginner-friendly: Even if you have never built a website, WordPress is easy to learn.
- Ready to Scale: Begin with a few products and scale as your business grows.
How to Launch a WordPress E-commerce Site – Step-by-Step
1. Get a Domain and Hosting
Start by getting a domain and hosting it is how your site lives online.
Steps:
- Choose a name that fits your brand.
- Pick a hosting provider with e-commerce support (Bluehost, SiteGround, Hostinger).
- Register your domain and choose a host.
- Use a one-click WordPress installation if available.
2. Install WordPress
Most hosting dashboards feature an “Install WordPress” button. If not, download WordPress from WordPress.org and install it manually.
Access your WordPress dashboard at yourdomain.com/wp-admin using the logic details from your host.
3. Style Your Site to Stand Out
The theme sets your store’s design and layout. For e-commerce, pick a theme that is:
- Mobile-friendly
- Fast-loading
- Compatible with WooCommerce
Popular themes: Astra, OceanWP, Storefront (official WooCommerce theme).
How to install:
Go to Appearance > Themes > Add New → Search → Install → Activate.
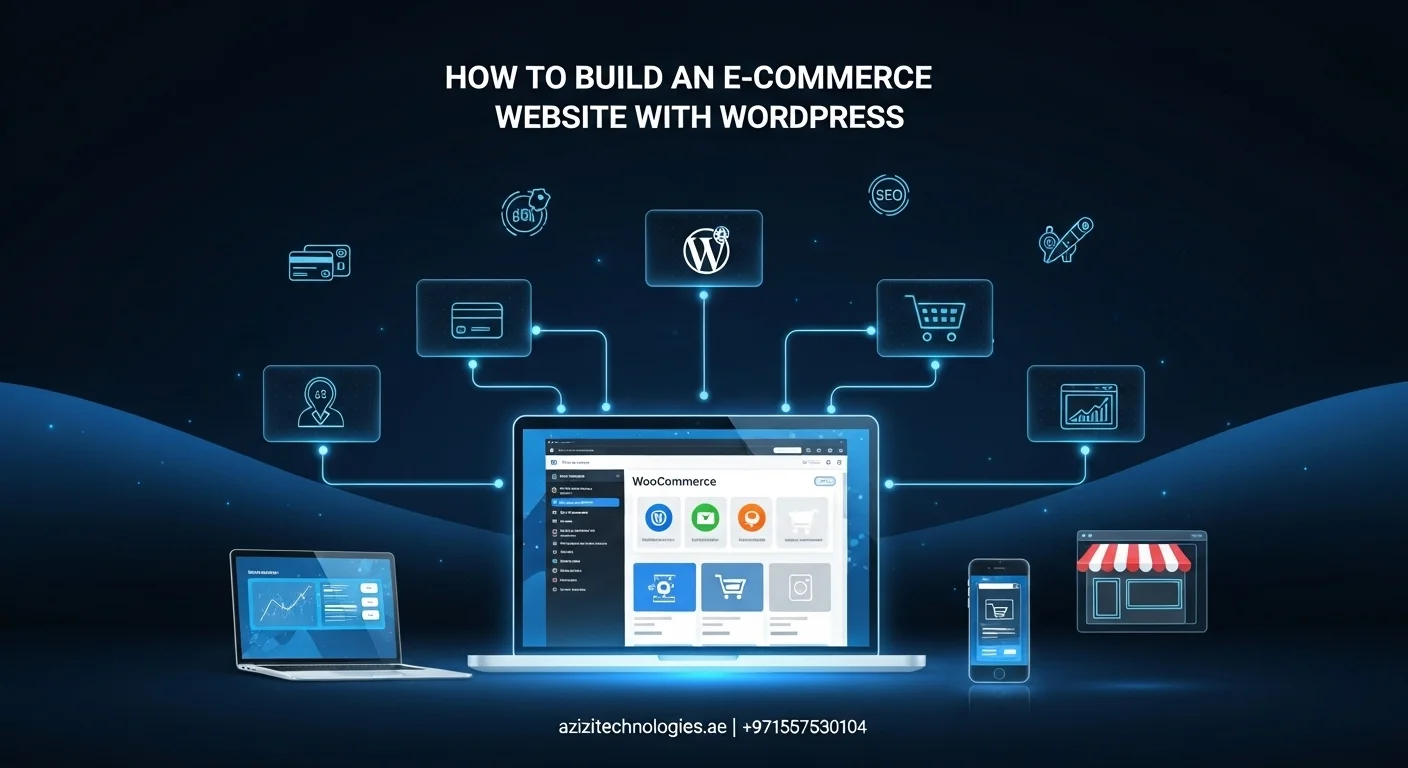
4. Get Started with WooCommerce
WooCommerce is WordPress’s most popular e-commerce plugin, adding everything you need to sell online.
- Create products pages
- Shopping cart
- Secure checkout
- Payment integrations
Setup steps:
Go to Plugins > Add New → Search “WooCommerce” → Install Now → Activate → Follow Setup Wizard.
5. Add Your Products
Add products by going to Products > Add New.
Enter:
- Product name and description
- Price
- Images
- Categories and tags
- Inventory and shipping details
- Click Publish. Repeat for all products.
6. Set Up Essential Pages
Every e-commerce store needs these pages:
- Shop
- Cart
- Checkout
- My Account
WooCommerce creates these automatically, but you can customize them anytime under Pages.
7. Install Helpful Plugins
Enhance your store with:
| Plugin | Purpose |
| Yoast SEO | Improves search engine visibility |
| WP Super Cache | Speeds up your site |
| Mailchimp for WooCommerce | Email marketing integration |
| Stripe Payment Gateway | Accept credit card payments |
| LiveChat | Offers real-time support |
Tip: Install plugins carefully. Too many can slow down your site. Want to boost rankings and visibility? Explore our SEO Services in Dubai.
8. Test Your Store
Before launch:
- Add products to the cart
- Complete a test checkout (use WooCommerce sandbox mode)
- Confirm payments work
- Check email notifications
- View store on mobile devices
9. Launch and Promote Your Store
When ready:
- Remove “Coming Soon” or maintenance plugins
- Announcement on social media.
- Send launch emails
- Consider running ads to drive traffic.
Want to scale traffic with paid ads? Check out our Digital Marketing Services.
Final Thoughts:
Building your e-commerce site on WordPress is simpler than ever. With the right theme, plugins, and a bit of patience, you will have a beautiful online store ready to make sales.
If you need expert help designing, customizing, or marketing your e-commerce site, Azizi Technologies UAE can guide you every step of the way.
Explore more helpful guides and resources at Azizitechnologies.ae.